Measure for the model you are considering
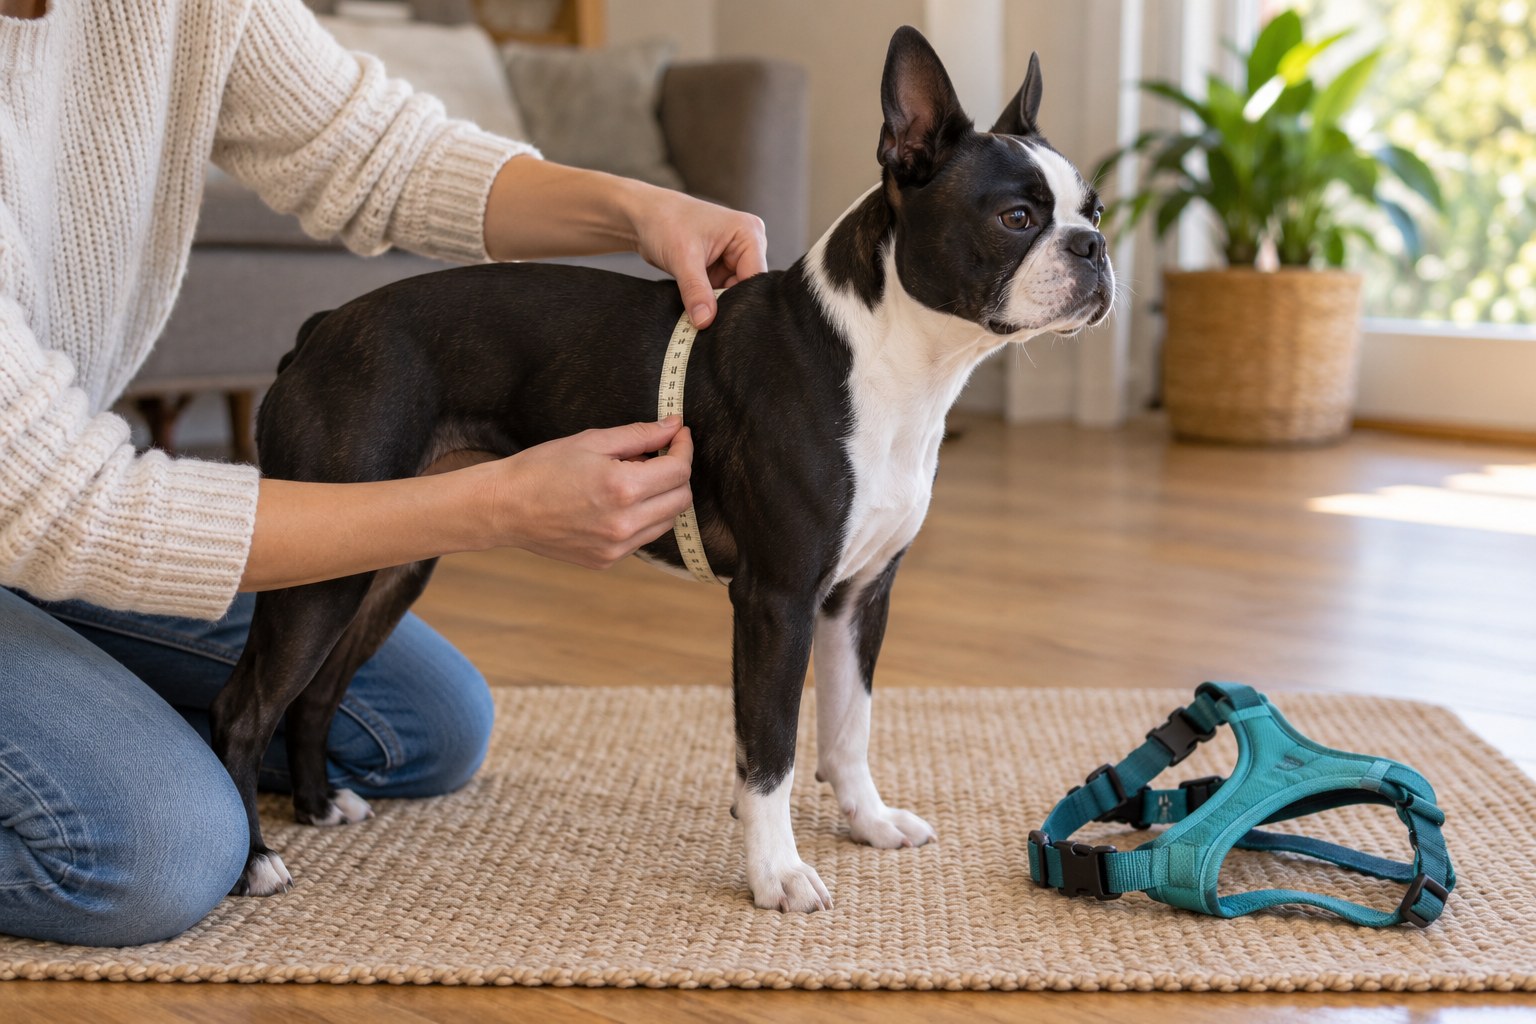
Read the selected harness maker’s measuring instructions before picking up the tape. Identify the requested points on the dog: chest girth, neck or another dimension may be relevant, depending on the design. The American Kennel Club’s gear-measuring guidance describes chest girth as the circumference around the widest part of the body. A manufacturer’s diagram should still determine the precise location for its own product.
Use a flexible measuring tape while your Boston Terrier stands naturally on a stable surface. Ask another person to help keep the dog comfortable if that makes the task easier. Avoid pulling the tape into the coat or measuring a curled-up dog on a sofa. Record the number, the unit and the date rather than remembering that your dog is usually a medium.
Repeat the measurement to catch an obvious reading error. If the results differ, reposition the tape and check the instructions again. Do not average readings taken around different parts of the body. A short note or photograph of where you measured can make a later comparison more useful, especially when several people share responsibility for buying supplies.
Compare adjustment ranges, not breed photographs
Find the size chart for the exact model and check whether the listed values describe the dog’s dimensions or the harness itself. A Boston Terrier pictured beside a size name may have a different build from yours. Compare the recorded measurement with the whole adjustment range and look for the manufacturer’s advice about measurements between sizes. There is no universal rule that the larger option always fits better.
Suppose two sizes overlap at your dog’s measurement. Look at which straps adjust, the placement of the chest piece and whether the maker offers fitting assistance. A bigger girth range may also come with a longer body section. If the information does not resolve the choice, send the maker your measurements and ask about that model before ordering. Check the return conditions so that an indoor fit check does not become an expensive guess.
Make the first fitting a separate task
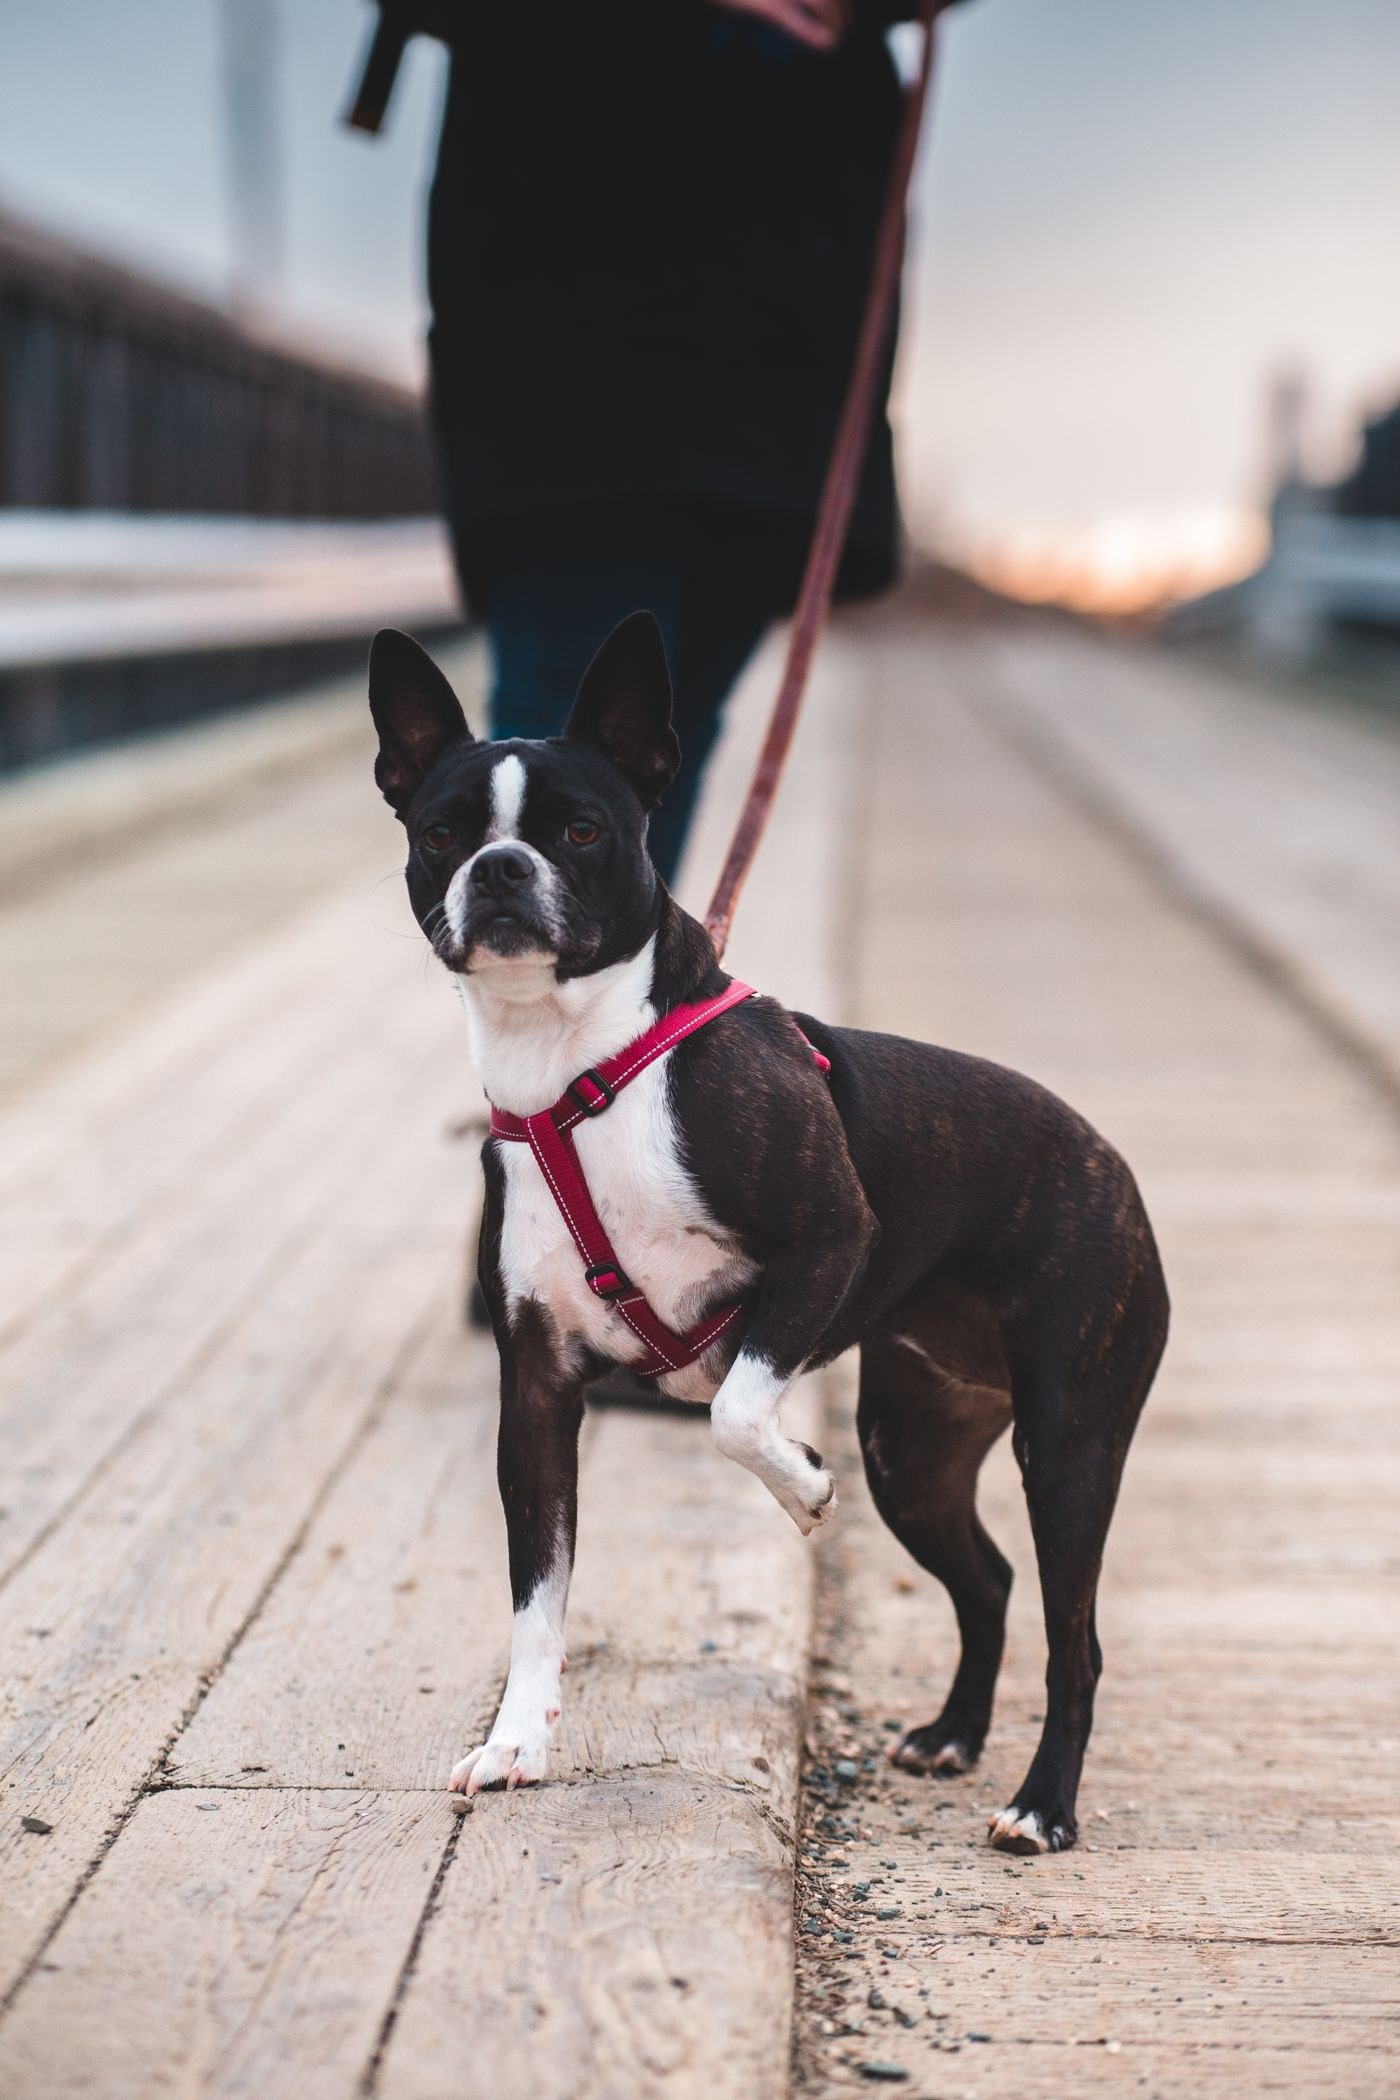
Introduce the item calmly, then fasten and adjust it according to the product instructions. Ruffwear’s Front Range fitting document, for example, identifies different straps and explains their adjustment; those instructions belong to that design rather than every harness. Check that webbing lies flat, buckles are fully closed and the attachment point is the one intended for the use you have planned.
Watch your dog stand, sit and move a few ordinary steps indoors. Look for straps drifting into an awkward position, material catching behind the front legs, or a body section that twists as the dog changes direction. Follow the maker’s clearance guidance rather than relying on one finger-count rule for every piece of equipment. A tape reading cannot show all of these things.
If the harness cannot be adjusted into the intended position, stop the fitting and reconsider the model or size. Tightening every strap is not a solution to a shape mismatch. If your dog is distressed, pause and arrange a more gradual introduction; persistent discomfort or concerns about movement deserve individual advice from an appropriate professional.
Keep a fit record you can reuse
Write down the model, purchased size and which adjustments produced the checked fit. Keep the chart or product instructions with the order record. This makes a replacement easier to compare and helps distinguish a new model from an older one that happens to share a size label.
Recheck fit after changes in your dog’s size, coat layers or equipment, and inspect the harness as part of the walking routine. A coat worn underneath can change where straps sit. Treat the first successful fitting as a starting record, then keep checking the real dog and item rather than assuming the chart settles the question permanently.